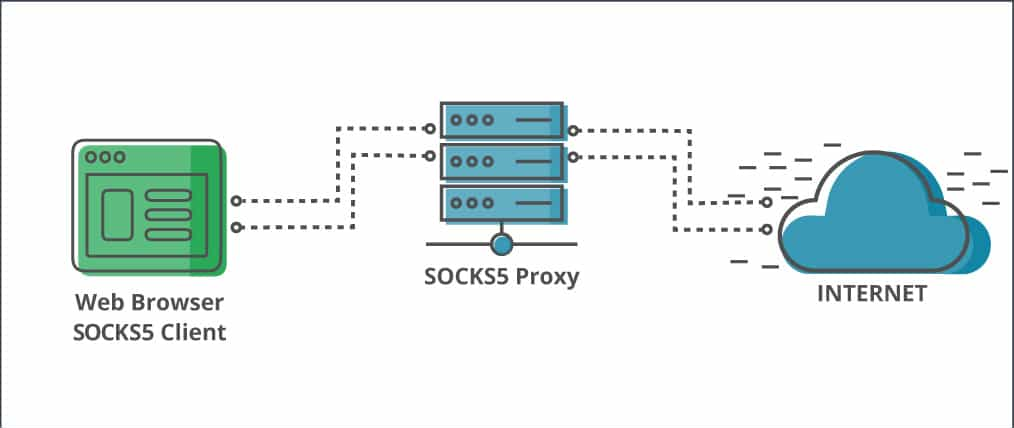
A SOCKS5 proxy routes network traffic through a third-party server, masking your IP and enabling more flexible traffic tunneling. In pentesting, it’s commonly used to pivot through compromised hosts or anonymize scanning activities.
Note: I personnaly use this during an pentest engagement to make sure my traffic tunnels through an whitelisted IP address to bypass any WAF’s.
Why Use a SOCKS5 Proxy?
SOCKS5 proxies are flexible, lightweight, and unlike traditional HTTP proxies, they operate at a lower level, forwarding all types of traffic (TCP or UDP). They’re ideal for:
- Hiding your real IP during recon or exploitation
- Pivoting in internal networks
- Bypassing basic network restrictions
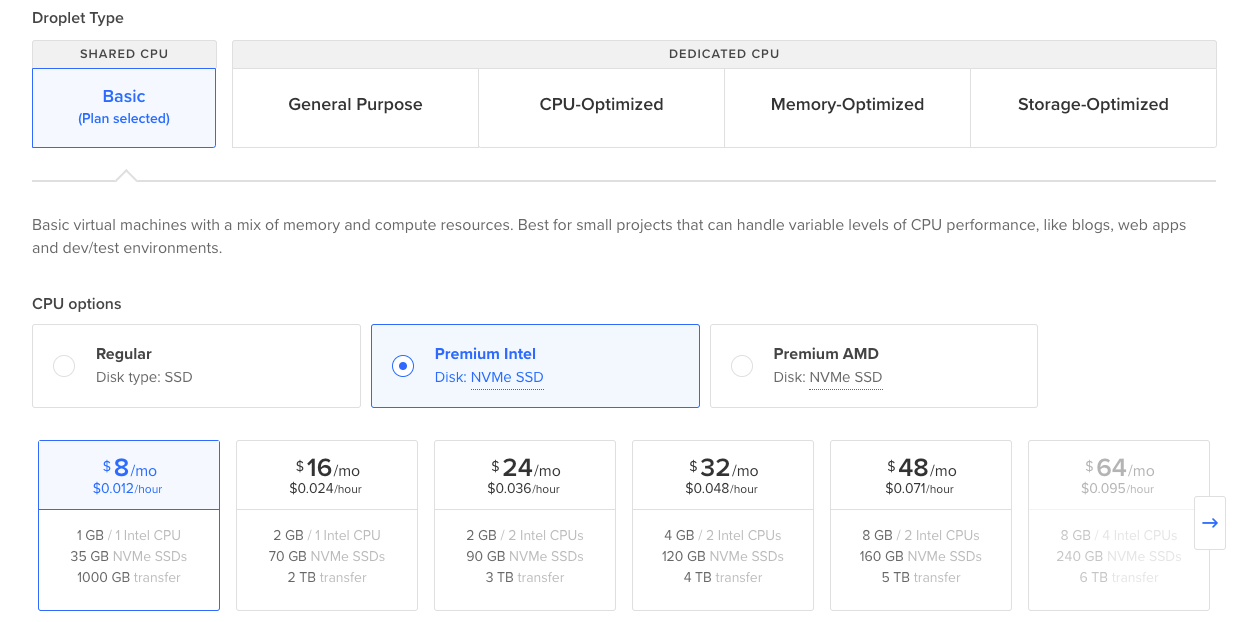
Step 1: Deploy Your DigitalOcean Droplet
- Log in to DigitalOcean
- Click “Create” > “Droplets”
- Choose the following:
- Ubuntu 22.04 LTS
- Basic Plan (512MB or 1GB RAM) is sufficient
- Choose a data center region (closer to you or the target zone)
- Authentication: Use SSH keys or password
- Click Create Droplet
Step 2: Install Dante Server
Update packages and install the Dante SOCKS5 proxy server:
|
|
Step 3: Configure the Dante Server
Edit the config file like I did
|
|
This is how your config file would look like :
|
|
⚠️ Replace
eth0with your actual interface (use ip a to check).
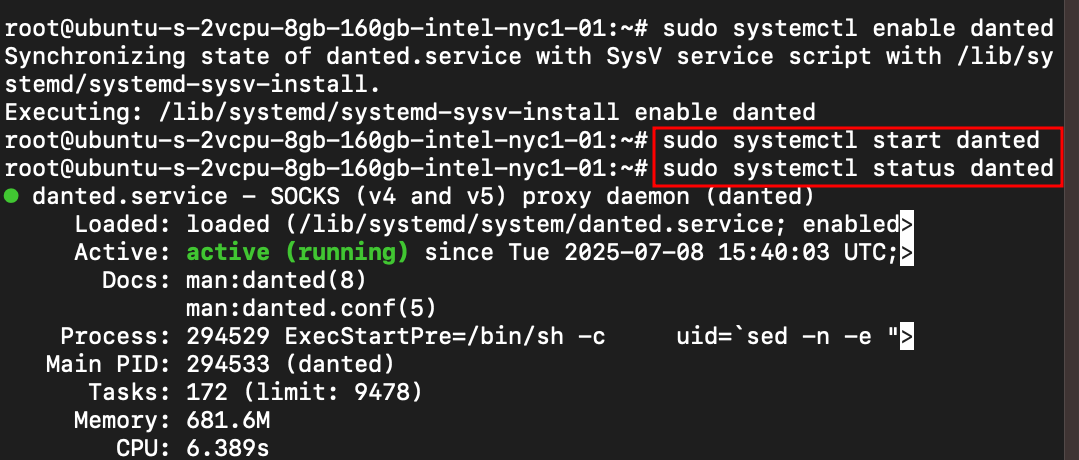
Step 4: Enable and Start the Danted Service
We’ve to make sure that it’s running without errors
|
|
Let’s check the status of our service
|
|
Step 5: Adjust Firewall (UFW or Cloud)
I’m allowing a port to open and communications via this port
|
|
OR we can configure DigitalOcean’s firewall to allow port 1080
Step 6: Use SSH to Start SOCKS5 Proxy
From your local machine, connect to the droplet using SSH and start the SOCKS5 proxy.
|
|
Flags explained:
-D 1080: Binds a SOCKS proxy on localhost:1080-q: Quiet mode (less output)-C: Enables compression-N: No remote command; just tunnel
Step 7: Verify SOCKS5 Proxy
From your local machine, let’s test the proxy
|
|

You should see your droplet’s IP, not your own.
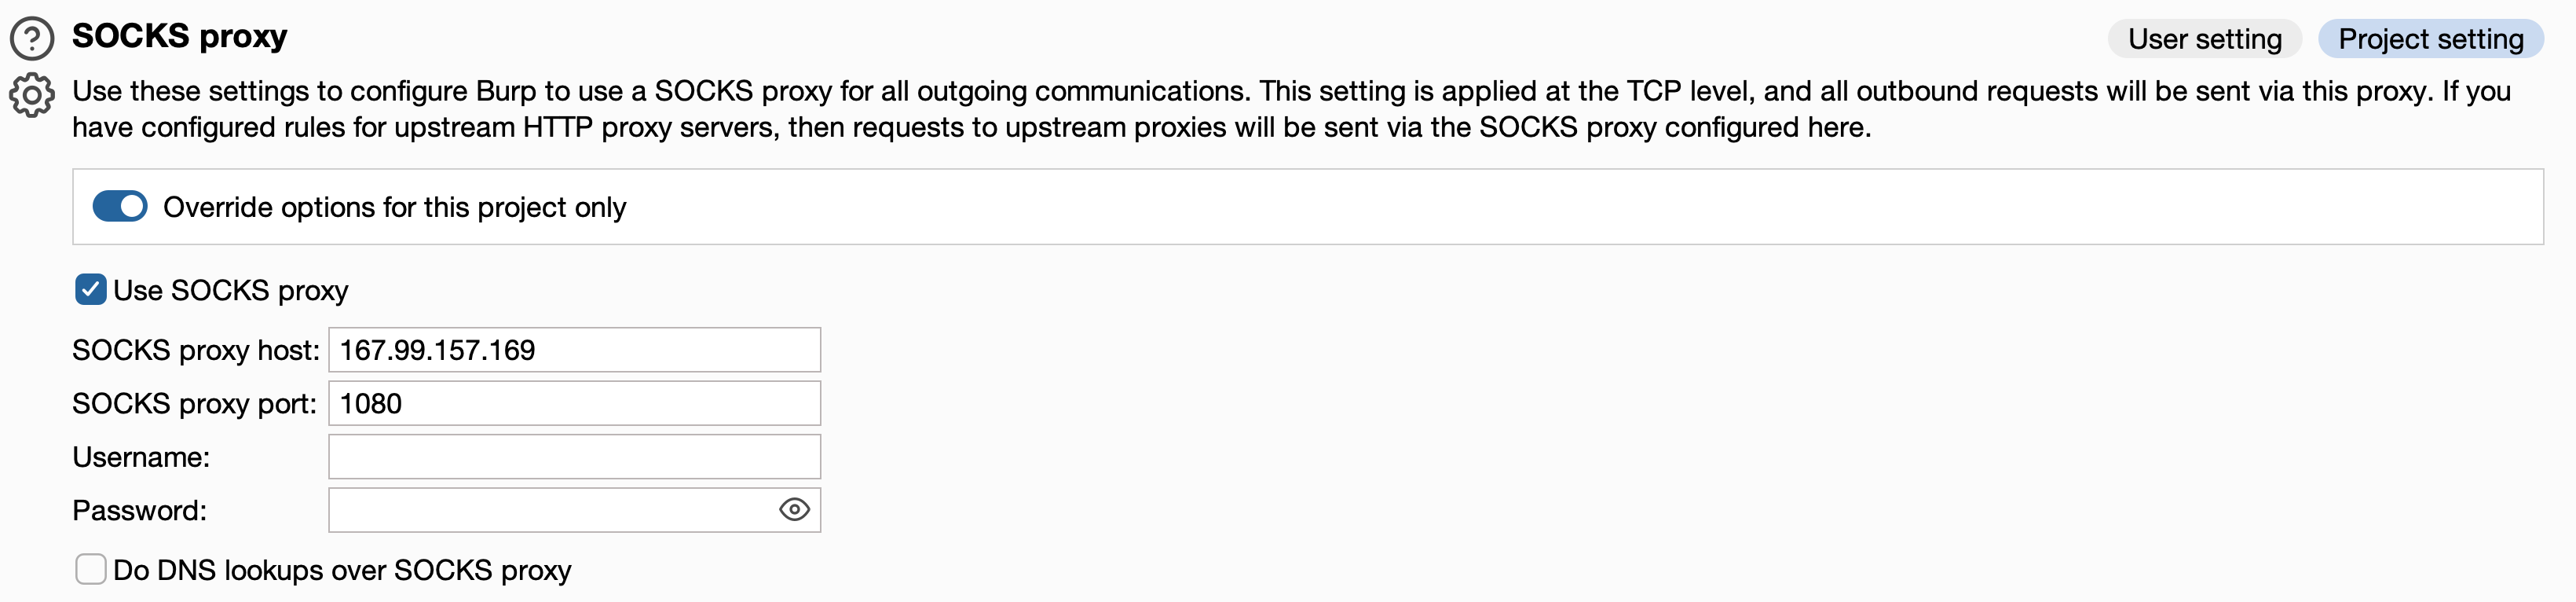
Connect via Burpsuite
Navigate to your user settings in burpsuite to enter SOCKS5 proxy details.
Conclusion
A SOCKS5 proxy gives you stealth, control, and flexibility during your pentests. With just a few commands and good hygiene (firewall, keys, user management), you’re ready to route traffic through a remote IP with ease.
⚠️ Use this only on targets you have explicit authorization to test. Unauthorized testing is illegal and unethical.